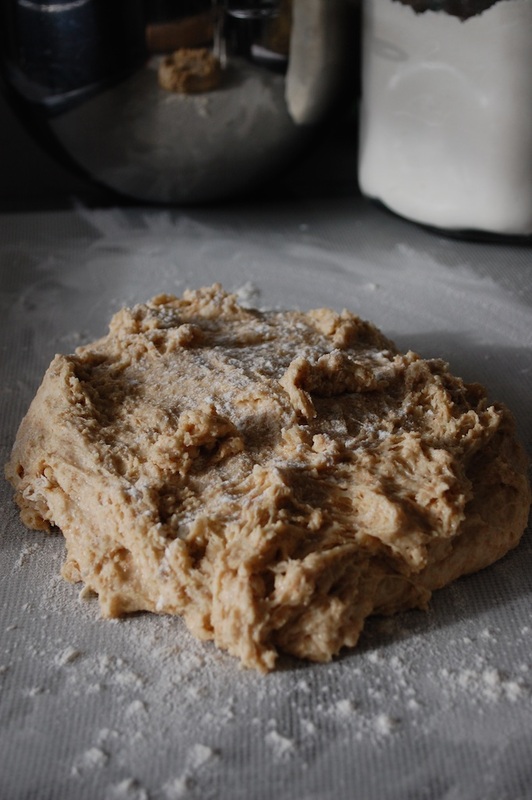
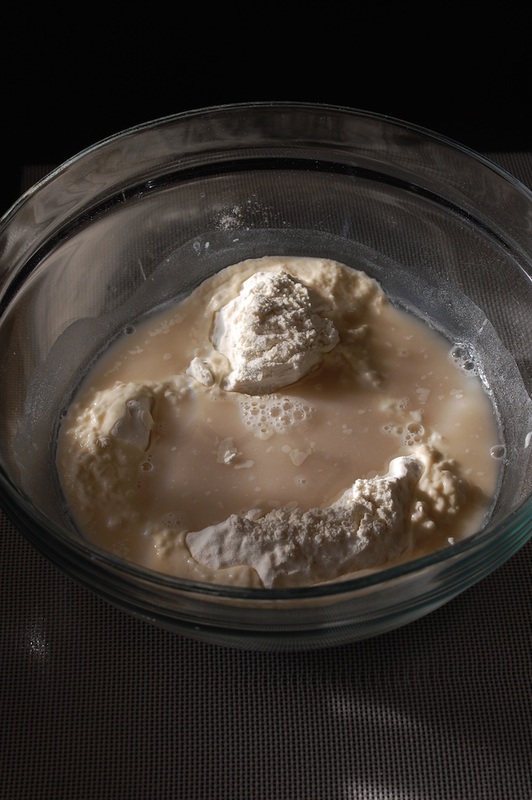
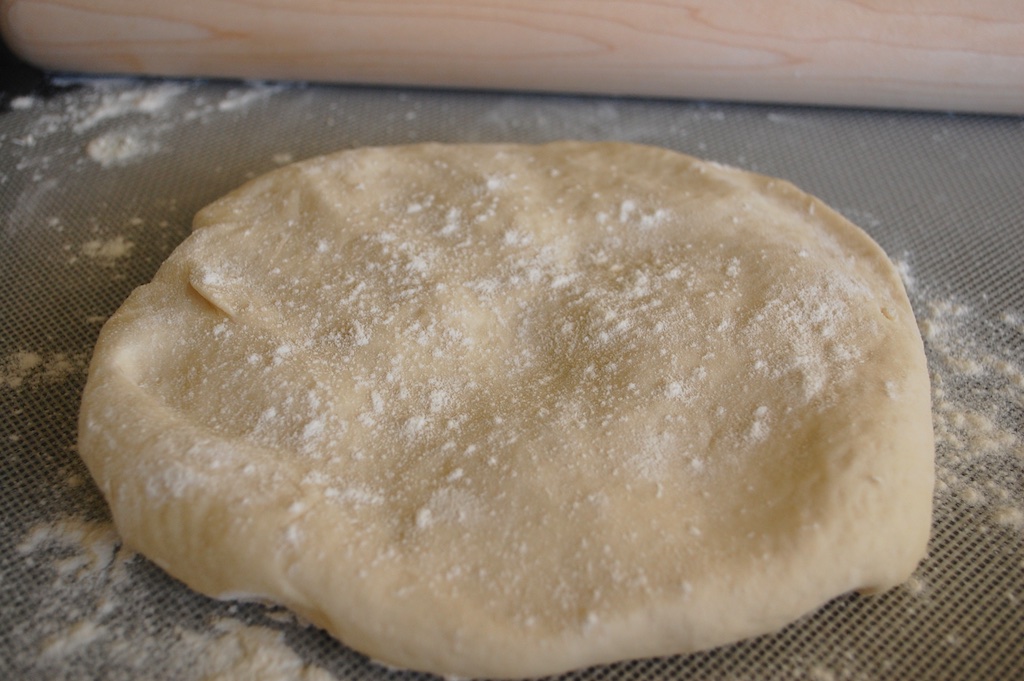
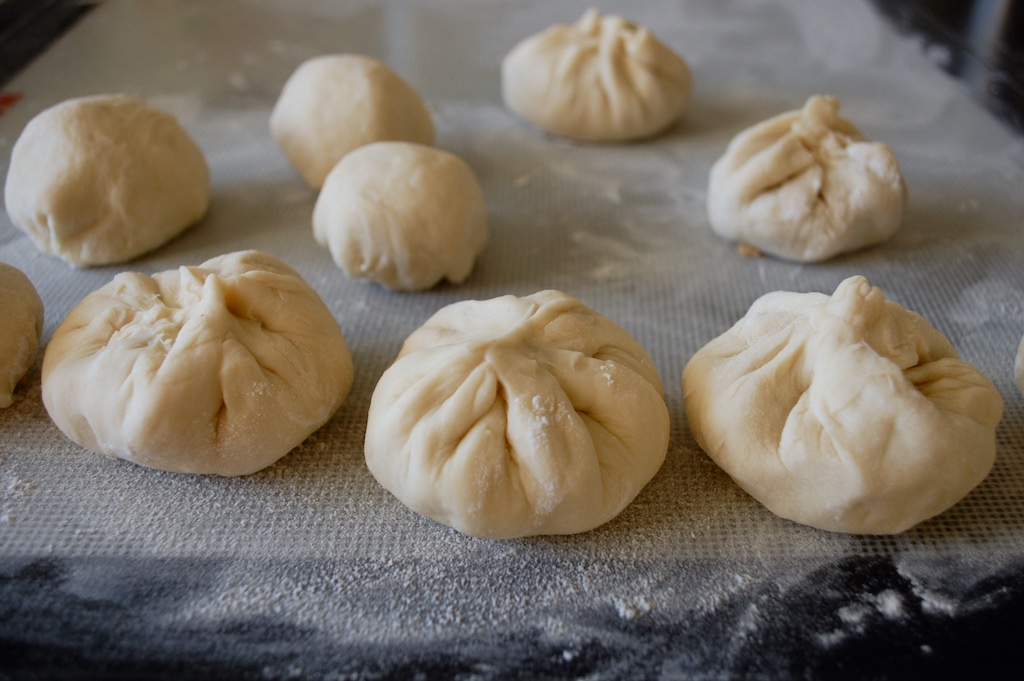
Isn't dough beautiful? The stretching bubbles, the rises and ridges, the nooks and crannies. Well, when this dough is baked, it is all about those nooks and crannies. Those little craters that butter just melts and pools in, allowing for a sinfully delicious breakfast. 
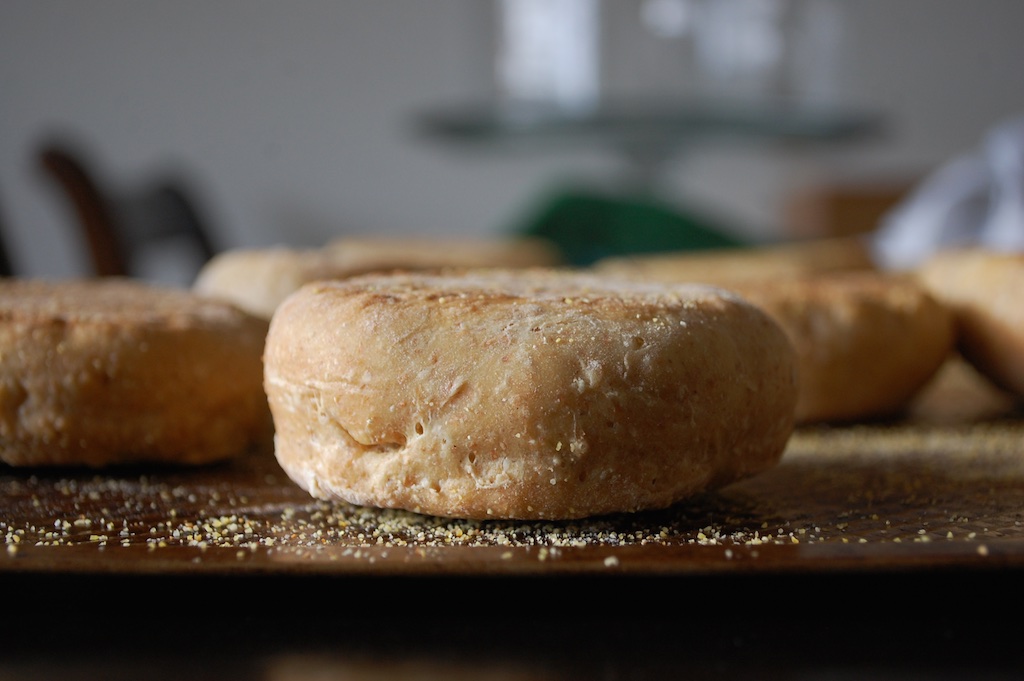
English muffins are also sinfully easy to make. This was the first time I had ever tried to make them, and after only one attempt I can positively say I will be making these again. We ate the last one this morning and only hours later Reid was already telling me that I could make them for him whenever I wanted. Which means that he will actually eat them, which is kind of a big deal in this house. I used a recipe from my friend Monet's blog, Anecdotes and Apple Cores, so go check it out if you would like to know how to make these for yourself! And while you're over there, give the rest of her blog a looksey too. She is a wonderful photographer, a beautiful mother, and a great chef. And if you live in or near Colorado and have/want kids, be sure to check out her other project, cord. 
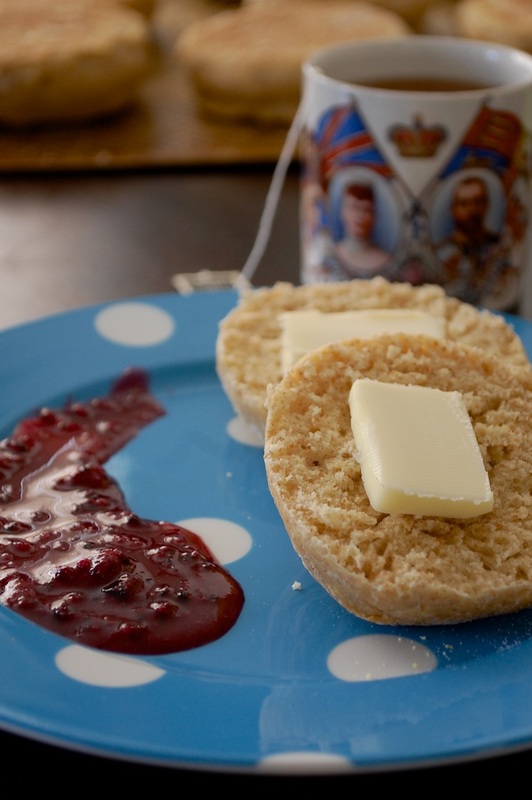
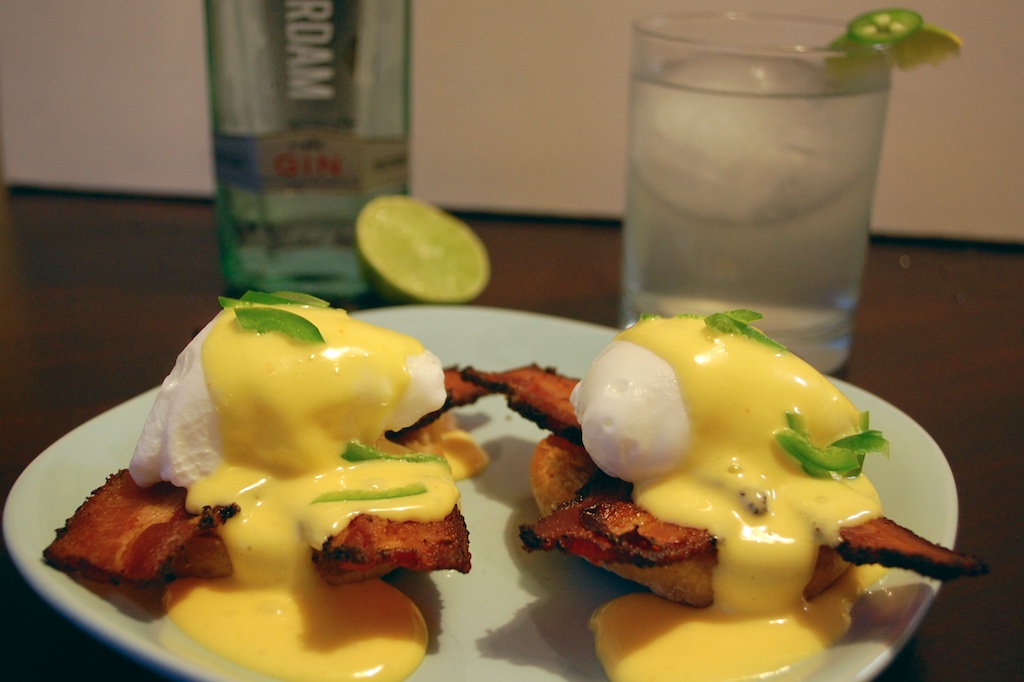
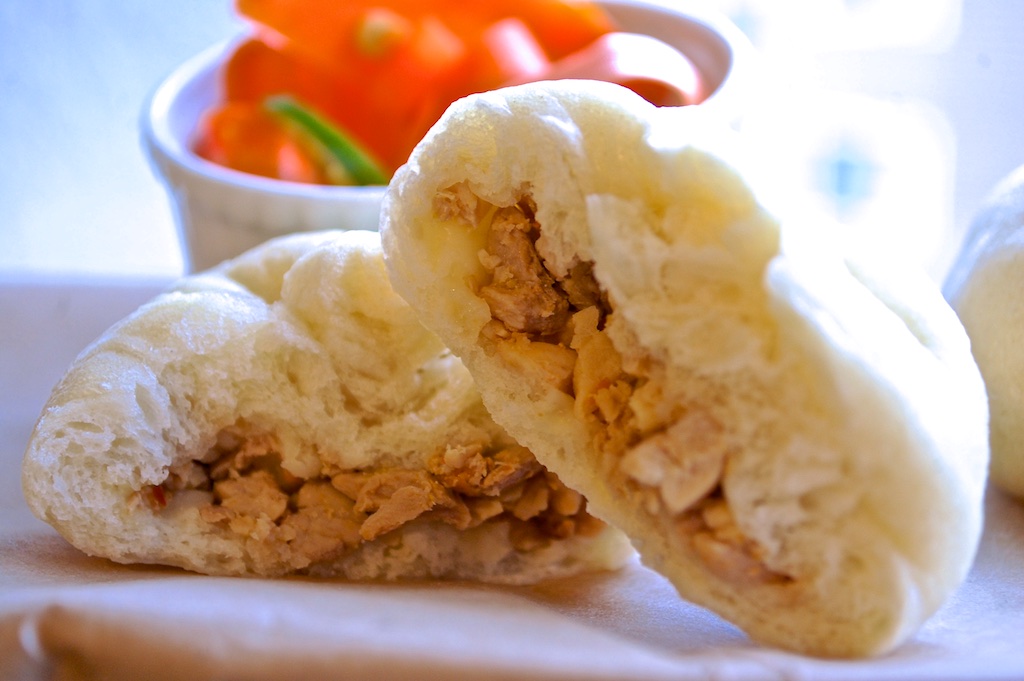
These muffins were fantastic with both sweet and savory toppings, such as butter and jam, or peanut butter and honey, or even bacon and jalapeño eggs benedict like those that Reid made for me. He paired it with a jalapeño Gin & Tonic, which was amazing. He muddled a bit of jalapeño with a little sugar, then added the gin, strained it, and added the tonic. They were so good I had him make one for me two nights in a row, which surprised us both. 
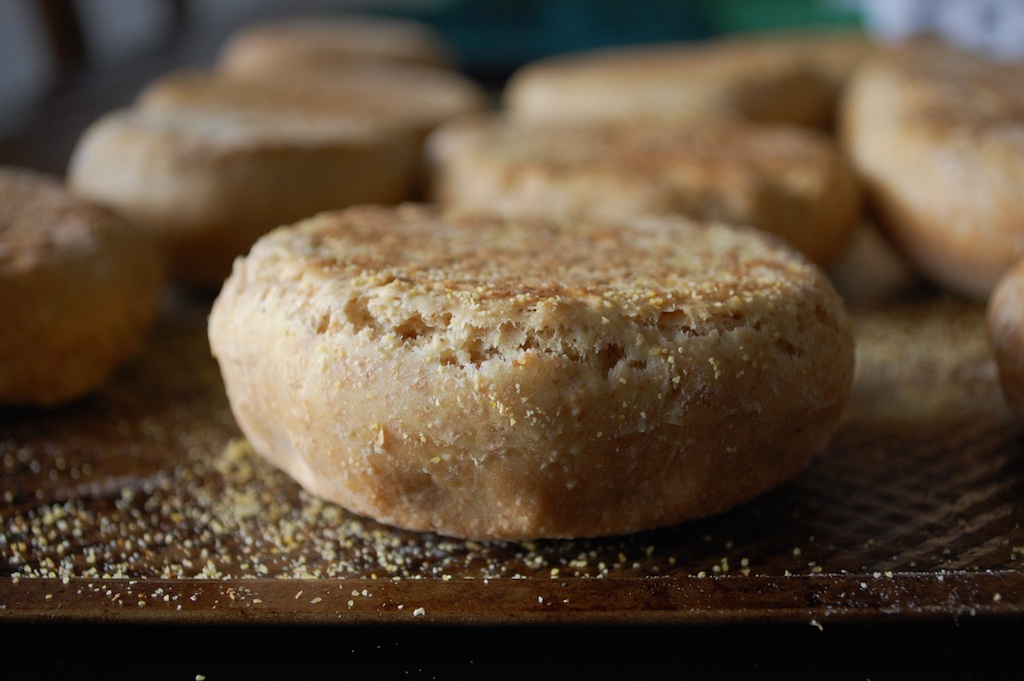
If you are a seasoned dough maker, or someone just starting their foray into the flour and yeast camp, these English Muffins are worth a go. They're easy, satisfying, and on the verge of addicting.
0 Comments
Happy New Year everyone! I hope you all have had a great first week of 2015. I chose not to make resolutions this year, but did set a few goals for myself. One of them is to try and do a post a week(ish) this year. I decided to start things off right with a cute dish towel my Gramie made as a wedding present for me and my husband. She has been sewing forever, and her talents have given us little treasures all over our house. We have embroidered dish towels, pot holders, quilts, placemats, and table runners. The beautiful quilted trees in the background of my Buche de Noel pictures are some of her handiwork. And since we haven't gotten any snow this winter, this happy snowman will have to do. But on to the main event... I actually first made these little steamed buns for Christmas, when Reid and I eschewed traditional food for an adventure in Chinese cooking. The recipe comes from All You Knead is Bread by Jane Mason. It is incredibly easy and delicious. I had never steamed bread before, but these have converted me. You can either stuff them or leave them as plain buns. It is citrus season now, and I am loving it. I've gotten more and more comfortable in the past couple of years with pairing citrus with savory foods. I love limes and blood oranges, and grapefruits remain a perennial favorite. But for this recipe I chose one of their smaller, more subtle cousins, the clementine. I marinated some chicken thighs in a mixture of clementine juice and zest, with soy sauce, sriracha, red pepper flakes and a little bit of rice vinegar. Then I cooked it up, chopped it to bits, and cooled it down. The sweetness of the clementines complements the heavy saltiness of the soy sauce and the heat from the sriracha and pepper flakes. You can substitute oranges for the clementines for a bolder flavor. But the true magic of these buns is that you can fill them with whatever you like! Ground pork, sausage, a vegetable medley, the possibilities are endless. The dough is not flavored, so it remains a perfect neutral playing ground for your imagination. At Christmas I made buns stuffed with a mixture of chicken, black garlic, cilantro, lime, and green onions. In fact, why not throw a steamed bun party? Have everyone bring a different filling and mix-and-match to your hearts desire. It's like a homemade pizza party but without the disappointment of not being able to have a wood burning oven in your tiny apartment. We lack a bamboo steamer, which will definitely be remedied sometime in the future, so I steamed my buns right in our rice cooker. If you want to try this recipe out at home and have a rice cooker, just use the steamer basket insert. I like to pour about half an inch of water in and turn it on as a sort of 'pre-heat' stage, just to make sure the buns aren't sitting too long in a lukewarm environment. But once the cooker is hot, in the buns go for about 7-10 minutes. When they come out they have a delicious chewy outside, with a fluffy interior surrounding an addictive filling. These buns are even great cold and make the perfect snack. Pair them with some pickled vegetables and you'll have a well-rounded meal that's exciting and maybe even a bit extraordinary.
Chinese Steamed Buns from All You Knead is Bread by Jane Mason 2 1/3 cups all-purpose flour 1 teaspoon dry yeast 3/4 cups water 1.5 teaspoons salt Place flour in a large bowl and make a well in the middle and add the yeast. Pour 1/2 a cup of the water over the yeast and let sit for about 15 min. After the time has elapsed, add the rest of the ingredients and mix together. Pour dough out onto an unfloured surface and knead for 10 min. Once the dough comes together, throw it back into the bowl and cover. Let sit and rise for 1-2 hours, or until doubled in size. If you are going to stuff the buns, prepare your filling now. It should be cooled down by the time you need to stuff them. Once your dough has risen, take it out of the bowl and divide it into ten different pieces. If you are not stuffing them, roll the dough into balls and set onto individual pieces of parchment paper squares. Let rise for another hour before steaming. If you are stuffing the buns, take the ten pieces and roll them into balls, then roll out to 1/4 inch thick rounds. Place your stuffing in the center and pinch to close. I am rubbish at getting my buns closed nicely, but this video from The Woks of Life might inspire some of you to pinching greatness. Place each stuffed bun on a individual square of parchment paper and let rise for another hour. Place buns comfortably in a steamer either over simmering water on the stove or in a rice cooker. Buns are done when a tester comes out of them clean. |
Archives
March 2015
Categories
All
|